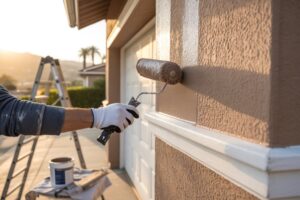
If you live in Canyon Crest, you’ll want to know where exterior paint fails first and how small fixes can protect your home. Check sun‑ and wind‑facing walls, trim, eaves, and window surrounds for peeling, chalking, or stains, then match color and sheen and prep properly so touch‑ups blend. I’ll walk you through the signs to watch, exact matching tips, and when a pro is the smarter call.
Main Points
- Inspect sun- and wind-facing walls, trim, eaves, and near windows for peeling, blistering, or moisture stains before starting touch-ups.
- Match paint color and sheen using manufacturer labels or a chip test, and test samples in different light and angles.
- Clean, sand, patch, and prime bare or damaged areas, then apply thin, feathered coats to blend with existing finish.
- Schedule work for dry, mild weather (50–85°F, humidity <60%) and use high-quality exterior acrylic paints and compatible primer.
- Hire a licensed, insured painter for large areas, active moisture issues, lead concerns, or when you need written estimates and warranties.
How to Spot Which Exterior Areas Need Touch-Ups in Canyon Crest
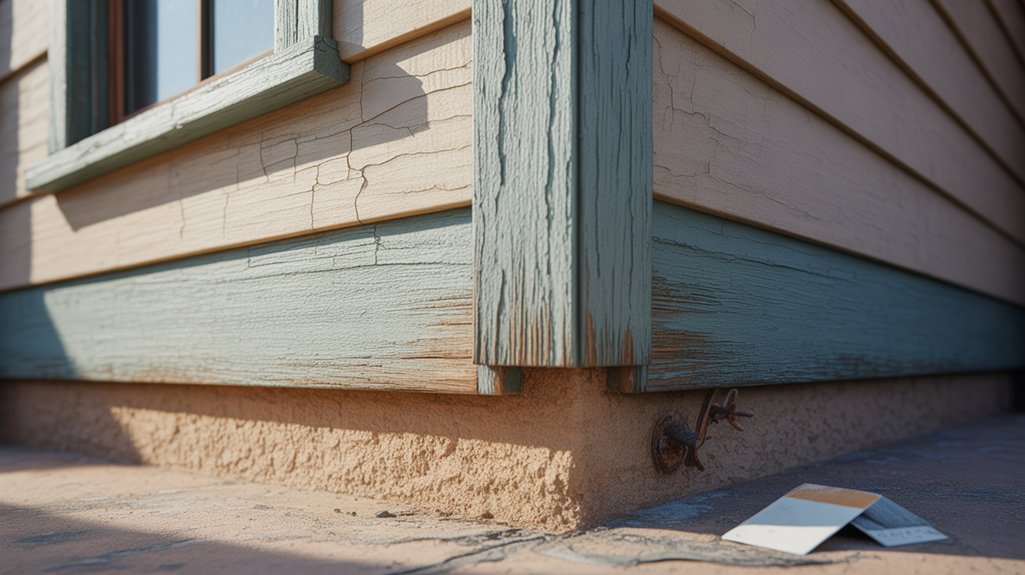
Often you’ll notice wear long before it becomes a problem; start by circling your home and scanning for peeling, blistering, or chalky paint, especially on sun- and wind-facing walls.
Circle your home and scan for peeling, blistering, or chalky paint—especially on sun- and wind‑facing walls.
Check trim, eaves, and fascia for cracking or wood exposure.
Inspect around windows, doors, and vents where moisture accelerates failure.
Look low for rising damp or staining at foundation joints.
Note ironwork and gutters for rust that flakes paint.
Walk the yard after rain to spot runoff streaks and soft siding.
Mark affected spots, prioritize areas that threaten structure or let moisture in, and schedule targeted touch-ups promptly.
How to Match Paint and Blend Touch-Ups for Seamless Results
Start by identifying the exact finish and color family of your existing paint—look for manufacturer labels on leftover cans or take a clean, small paint chip to a matching service—then test a sample on an inconspicuous area to confirm the match in different light.
When you have the right formula, thin fresh paint slightly for edges so it feathers into old coats. Work small, stippling with a brush or low-nap roller to mimic texture. Blend wet edges inward and avoid overworking.
After drying, evaluate at multiple angles and times of day; if needed, apply a second thin coat for consistent sheen and color.
Step-by-Step DIY Touch-Up Process for Siding, Trim, and Doors
Gather the right tools and prep each surface before you touch any paint: for siding you’ll need a stiff brush, mild detergent, and a patching compound for cracks; for trim, keep a small angled brush, fine-grit sandpaper, and caulk handy; and for doors, have a foam roller, drop cloths, and hardware covers ready.
Start by cleaning, patching, and sanding damage. Prime bare spots. Match sheen and color. Paint in light, even coats, feathering edges. Let dry fully before evaluating.
Follow this sequence:
- Clean and repair siding.
- Sand, caulk, and prime trim.
- Mask and roll doors.
- Inspect and touch up.
When to Hire a Professional Painter in Canyon Crest and What to Ask
Decide to call in a pro when the job goes beyond simple touch-ups—if you’re facing extensive peeling, persistent moisture stains, lead-based paint concerns in older homes, large exterior areas, or you just lack the time and equipment, a licensed painter will save you headaches and guarantee a durable finish. Ask about licensing, insurance, and local references.
Request a written estimate detailing prep, products, brands, warranties, and cleanup. Confirm lead-safe certification for older properties.
Discuss timeline, color-matching methods, substrate repair, and change-order pricing. Get a clear payment schedule and insist on a final walkthrough with punch-list completion before final payment.
Weather, Materials, and Maintenance Tips to Make Touch-Ups Last
Because weather affects adhesion and curing, plan touch-ups for dry, mild days—typically when temperatures are between 50–85°F and humidity is below 60%—so paint bonds properly and dries on schedule.
Plan touch-ups for dry, mild days (50–85°F, humidity under 60%) so paint bonds and dries properly.
You’ll pick quality, matching paint and compatible primer, clean and sand surfaces, and use proper brushes or sprayers.
Store leftover paint sealed and labeled.
Inspect annually and address chips before moisture or UV damage spreads.
Follow manufacturer cure times before exposing surfaces to wear.
- Choose high-quality exterior acrylic for durability.
- Match sheen and color precisely.
- Prep by cleaning, sanding, priming.
- Maintain yearly inspections and touch promptly.
Frequently Asked Questions
How Much Do Touch-Ups Typically Cost in Canyon Crest?
You’ll typically pay $50–$200 for minor touch-ups in Canyon Crest, depending on size, paint matching, and access. You’ll pay more for large patches, specialty paints, or if a pro must bring scaffolding or extensive prep.
Do Touch-Ups Affect Home Resale Value?
Yes — touch-ups can boost resale value by improving curb appeal and signaling good maintenance. If you fix obvious chips, match colors well, and keep finishes consistent, buyers’ll perceive the home as better cared for and pricier.
Are Touch-Up Paints Available in Eco-Friendly Formulas?
Yes — you can get eco-friendly touch-up paints; manufacturers offer low-VOC and zero-VOC formulas, and you’ll find small quarts or pens for repairs. You’ll want to check labels and certifications to confirm environmental claims.
How Long Do DIY Touch-Ups Usually Take?
DIY touch-ups usually take 30 minutes to a few hours per small area; larger sections or multiple coats can stretch into a day. You’ll prep, apply, wait between coats, sand if needed, then clean up afterward.
Can Touch-Ups Be Done on Historic Homes?
Yes — you can do touch-ups on historic homes, but you’ll need to match original materials, colors, and techniques, test paints on small areas, consult preservation guidelines, and proceed carefully to protect historic fabric and value.
Call for Quote Today
Keep checking sun- and wind‑facing walls, trim, eaves, and around windows so you catch peeling, chalking, or stains early. Match color and sheen with chips or labels, feather thin coats into old paint, and prep with cleaning, patching, sanding, and primer for lasting results. Use high‑quality exterior acrylics and work in dry, mild weather. If damage is extensive or you’re unsure, hire a licensed pro and ask about warranty and prep methods.